TUTORIAL: Simple tablet case (for Hudl2 and others)
 I got myself a toy for the sewing room with my Amazon gift credit this week. My tablet is a Tesco Hudl2 and I'm really pleased with it. It's replacing my clutter of books, CDs and magazines.Anyway I needed to make a case and thought I'd make a tutorial too.
 YOU WILL NEEDFat quarter for outer - I used a stashed watercolour effect Liberty lawnFat quarter for liningHalf yard of cotton wadding or bumpTwo 28mm buttonsA yard of bias bindingFor a Hudl2, I cut the following:OUTER FABRIC 1 - 7" wide x 14" tall, 1 - 7" wide x 11" tall.LINING FABRIC As aboveWADDING 1 - 7" x 14", 3- 7" x 11"Depending on the size of your tablet, you will want to cut your smaller pieces 2" - 2 1/8" wider and 3" - 3 1/8" taller than the tablet itself. The longer piece should be 3" taller than the shorter piece.On the longer pieces, round off the top two corners. I drew round a small roll of tape and then trimmed with scissors.
 Make two stacks - The first with smaller pieces - wadding, wadding, lining right side up, outer fabric wrong side up. The second stack should be all aligned at the bottom in the following order - smaller wadding piece, longer wadding piece, lining right side up, outer wrong side up.Leaving a gap at the bottom for turning, sew all the way around on both stacks. Clip curves, clip corners and turn through the gap. Press.
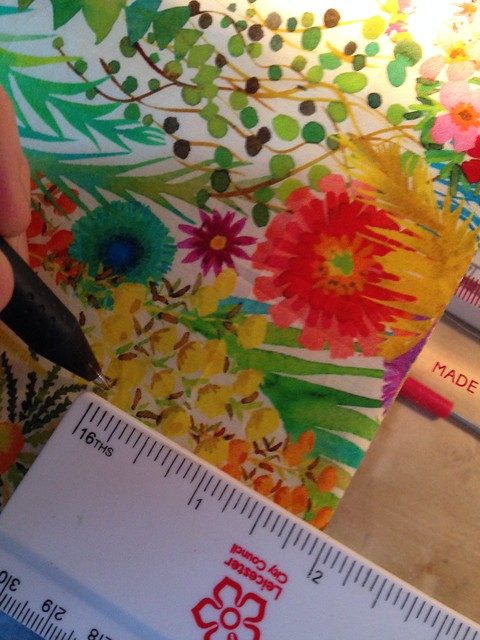 On the smaller piece, measure 1 1/2" from the centre and 2" from the top. Mark. D0 the same for the other side of the centre.
 Position a button centrally over each mark and stitch in place.
 Measure 1/2" from the top of the longer piece and mark the button width. Sew buttonholes with your machine 1/2" from the edge. Refer to your manual to find the best way of doing this. Some machines (like mine) are one step and you program in the width of the button, others have a special button hole foot that requires a button in the back and others are more manual. Cut open buttonholes.
 Pin the smaller piece to the longer piece with linings facing each other and bottoms aligned. Attach binding around the inside edge with a 1/8" - scant 1/4" seam, Curve around flap corners, join ends and complete stitching by machine all the way around.
 Fold over the binding and clip in place if you wish. Hand sew in place with matching thread and a slip stitch like you would when binding a quilt.
 Finished!